Your solar panels are on the roof doing their job, but the power output on your monitoring app tells a different story. When production drops or stops entirely, the culprit is often the inverter, the component that converts DC power from your panels into usable AC electricity for your home. A solar inverter repair service is exactly what most homeowners need at this point, but knowing what’s actually wrong, what it’ll cost, and whether you even need a technician can save you time and money.
Inverter failures aren’t rare. Error codes, blank screens, and unexpected shutdowns are some of the most common service calls we handle at Advance Solar & Spa. With over 40 years in the solar industry and more than 50,000 installations across Florida, our in-house team of licensed technicians has diagnosed and repaired just about every inverter issue you can imagine, from simple communication glitches to full hardware replacements.
This guide breaks down the most common inverter problems, what repairs typically cost, the troubleshooting steps you can safely try yourself, and the clear signs it’s time to call a professional. Whether your system is one we installed or was put in by another company, the information here applies to most residential solar setups in Florida and beyond.
What a solar inverter does and why it fails
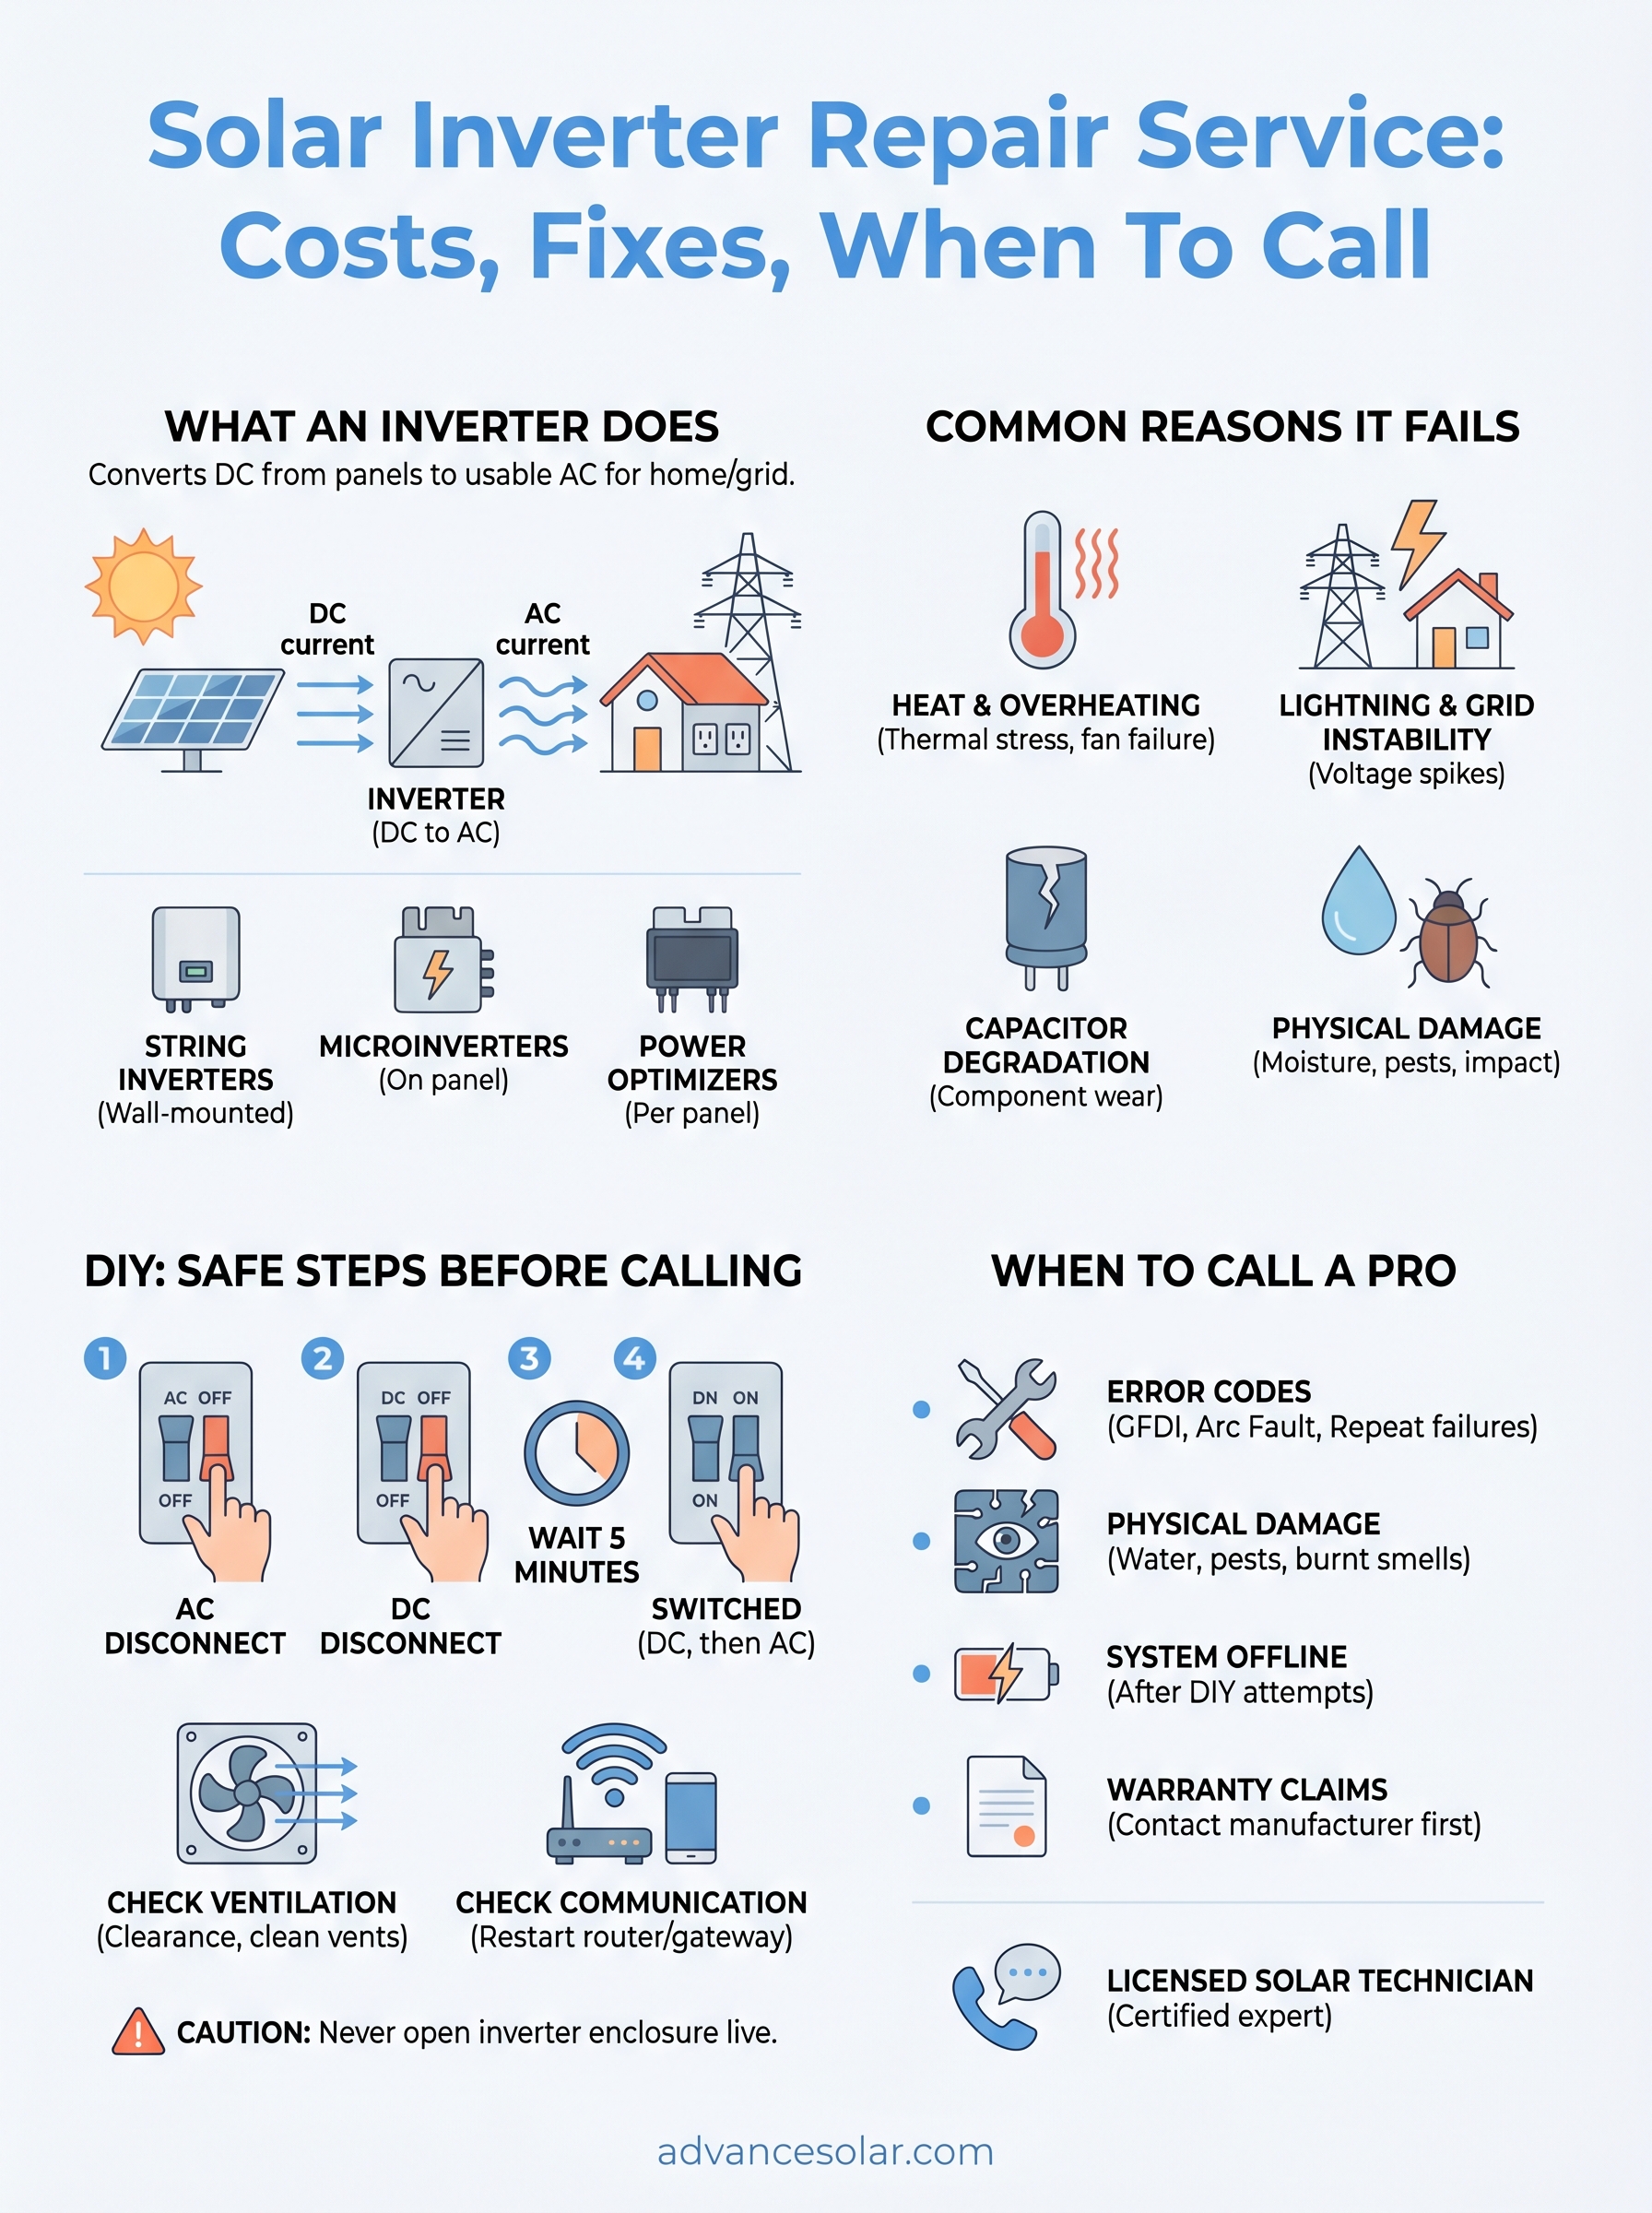
Your solar panels produce direct current (DC) electricity, but your home runs on alternating current (AC). The inverter sits between those two realities. It takes the raw DC output from your panels, converts it into AC electricity at the correct voltage and frequency, and feeds that power into your home’s circuits or back to the grid. Without a working inverter, your panels can generate all the electricity they want and none of it will reach your outlets.
The inverter’s role in your solar system
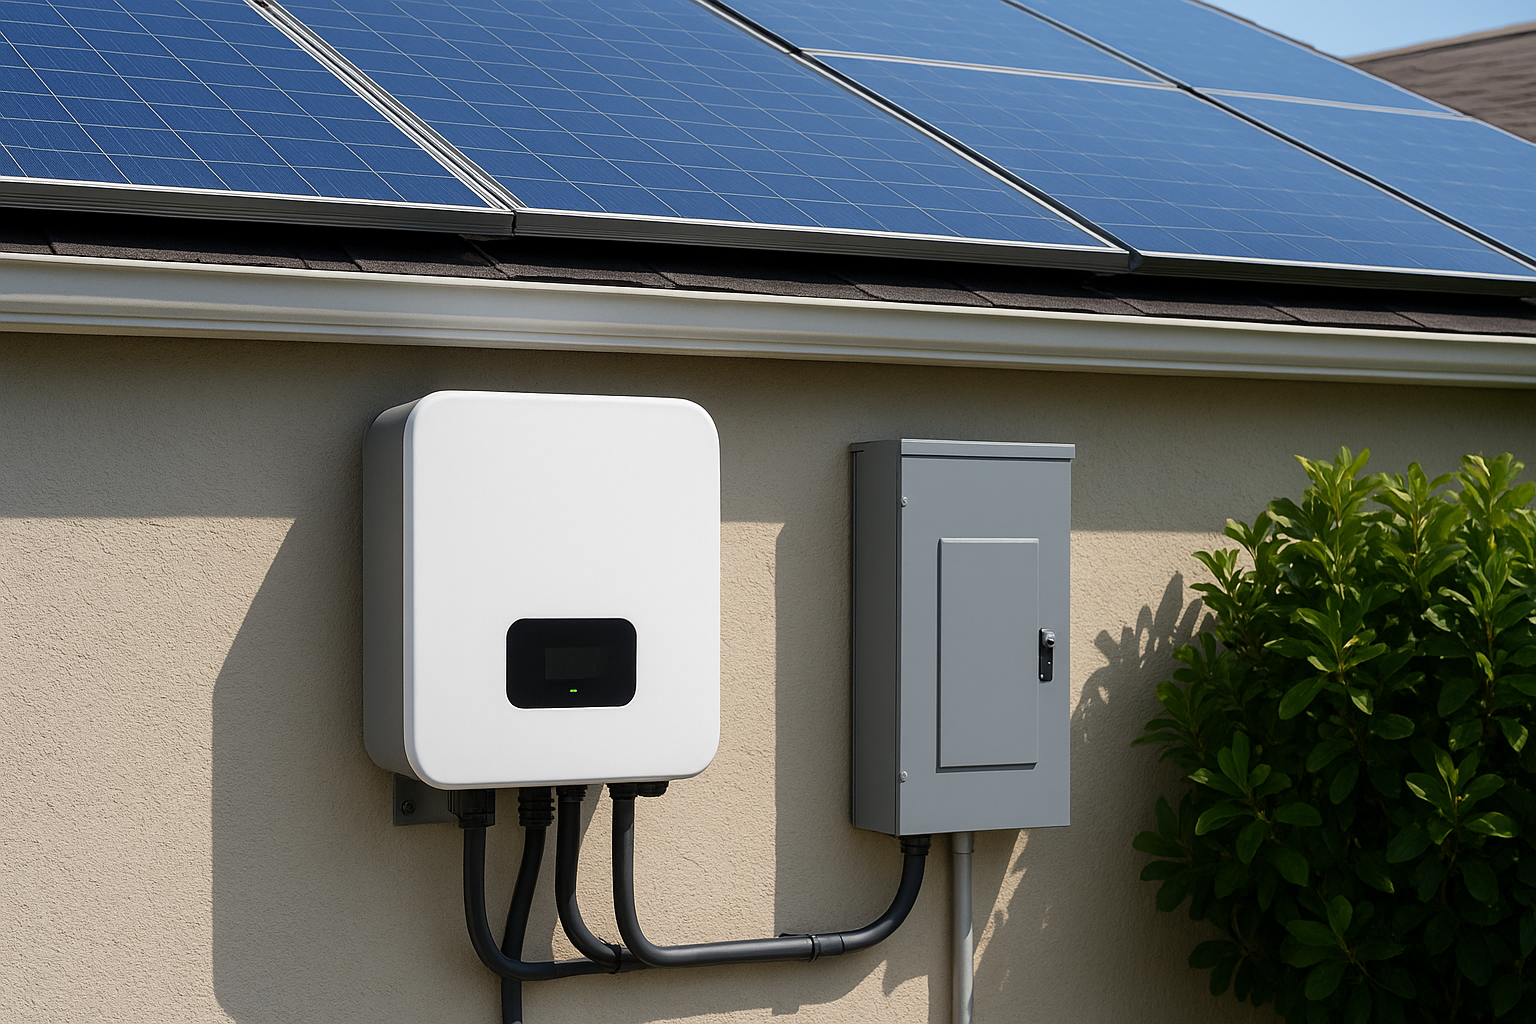
Beyond basic conversion, modern inverters handle far more than most homeowners expect. They monitor panel-level production, communicate with battery storage systems, enforce grid safety protocols, and transmit performance data to the monitoring apps you check on your phone. String inverters handle output from an entire row of panels as a single unit, while microinverters and power optimizers work at the individual panel level, which affects how a fault shows up and how a solar inverter repair service will approach the diagnosis.
If one part of your inverter’s conversion or communication function breaks down, it can shut down part or all of your system’s output even when your panels are physically fine.
Understanding the type of inverter you have before you call a technician helps you describe the problem clearly and speeds up the diagnostic process. String inverters are typically mounted on a wall near your electrical panel, while microinverters are attached directly to each panel on the roof. Knowing which setup you have sets the context for every step in this guide.
Common reasons inverters fail
Inverters fail for several reasons, and the environment in Florida makes some of those causes more likely. Heat is the biggest factor: inverters generate their own heat during operation, and when ambient temperatures stay high, thermal stress builds up inside the unit over time. Components like capacitors and cooling fans wear out faster than they would in a cooler climate.
Lightning and grid instability are also frequent culprits in Florida and cause a significant share of inverter failures. A nearby lightning strike doesn’t need a direct hit to damage sensitive electronics: a transient voltage spike through your service panel can degrade or destroy inverter components in seconds. The following are the most common inverter failure causes technicians see in the field:
- Capacitor degradation: Capacitors store and release energy rapidly during conversion. They wear out over time, especially in high-heat environments.
- Fan failure: Many inverters use internal fans to manage temperature. When a fan fails, the unit overheats and shuts itself down.
- GFDI faults: Ground Fault Detection Interruption errors indicate a wiring issue, often caused by moisture intrusion or damaged insulation.
- Firmware or communication errors: Software bugs or failed updates can cause the inverter to stop reporting or operating correctly.
- Physical damage: Water intrusion, pests, or impact damage can compromise internal circuit boards.
Knowing what caused your failure matters because it directly affects whether a repair makes financial sense or whether replacing the unit is the smarter long-term decision. A failed capacitor is usually an affordable fix; a failed circuit board on an older unit might cost more to repair than the inverter is worth.
Step 1. Make it safe and gather key system details
Before you touch anything or call a solar inverter repair service, take two minutes to do this right. Working around electrical equipment carries real risk, and gathering accurate system information before you pick up the phone saves you a second call once a technician is already on their way.
Turn off the system before you inspect it
Most residential solar systems have a dedicated AC disconnect switch mounted near your main electrical panel. Start there. Flip the AC disconnect to the off position, then locate the inverter’s own DC disconnect or shutdown switch, which is usually on the unit itself or on a combiner box nearby. If your system includes a battery, put that into standby mode through its app or the physical switch on the unit before you get any closer.
Never open the inverter enclosure while the system is live. Even with the AC disconnect off, DC voltage from the panels remains present during daylight hours and cannot be shut off at the inverter level alone.
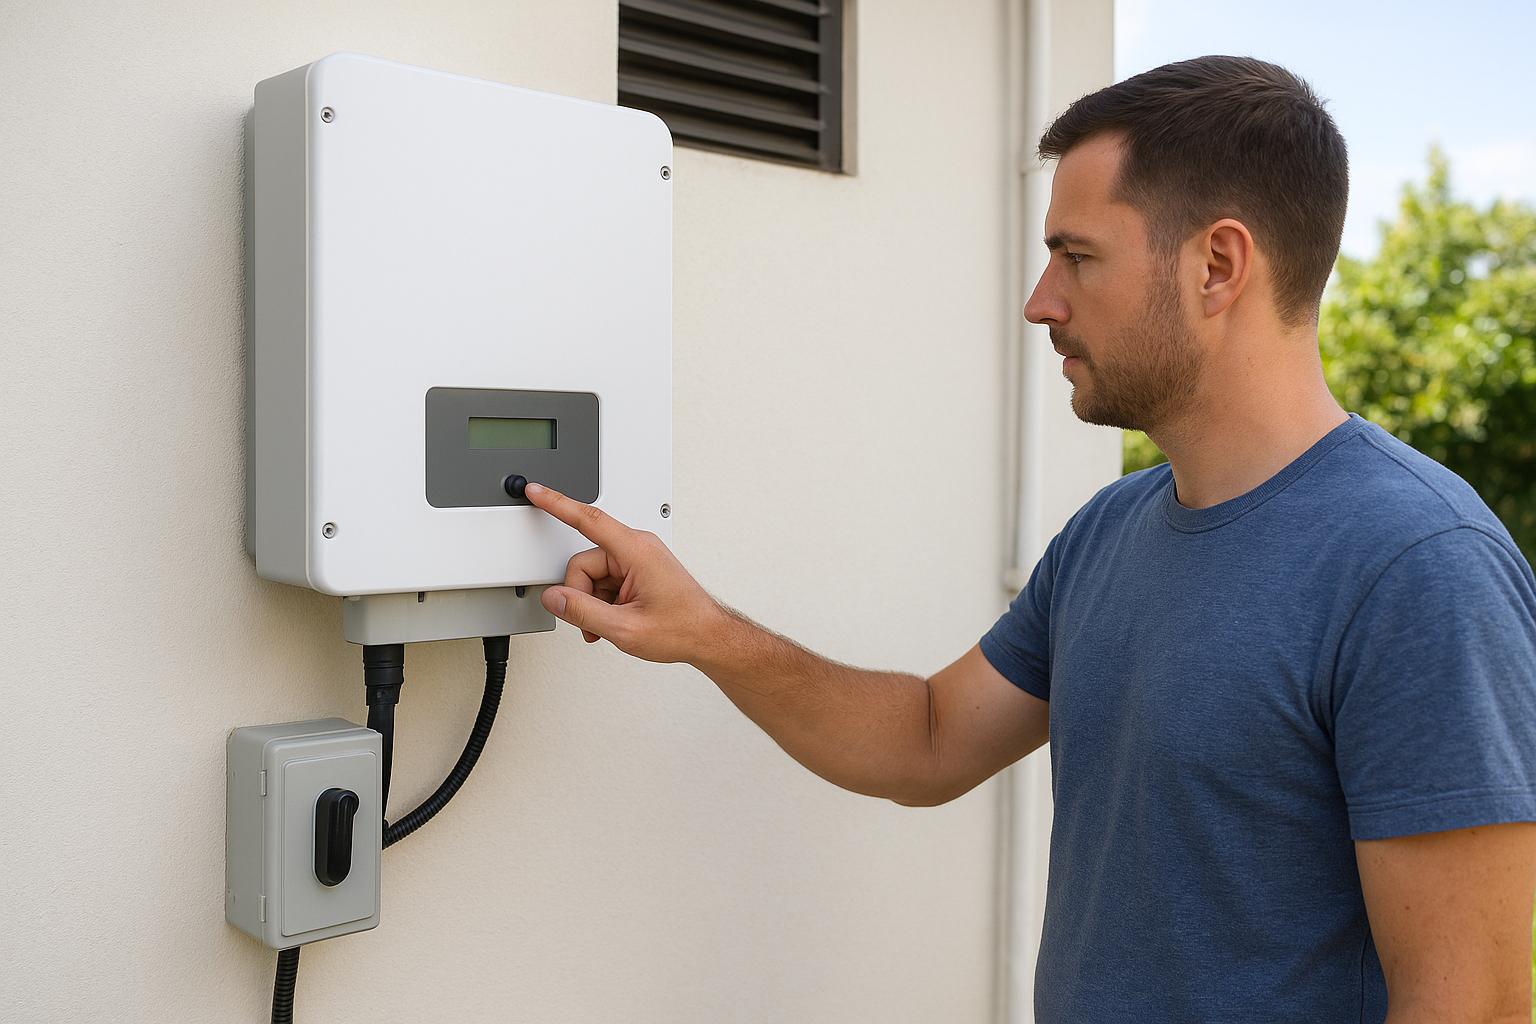
Once everything is powered down, check the inverter screen for any error codes or LED indicator patterns before the display goes dark. Take a photo with your phone immediately. That code is often the fastest path to a correct diagnosis and tells a technician what to bring before they even arrive on site.
Collect the details a technician will ask for
Having the right information ready before you call shortens the service appointment and helps the technician show up with the correct parts. Pull together the following details from your paperwork, your monitoring app, and the label on the inverter housing:
| Detail | Where to find it |
|---|---|
| Inverter brand and model number | Label on the inverter housing |
| Serial number | Label on the inverter housing |
| Installation date | Original contract or permit paperwork |
| Warranty status | Manufacturer documentation or installer records |
| Monitoring app error log | App dashboard on your phone |
| Utility interconnection agreement | Your utility account portal |
System age is especially important because string inverters typically carry a 10-year warranty while microinverters often come with 25-year coverage. Knowing your warranty status before you call determines whether the repair cost falls on the manufacturer, the installer, or your own pocket.
Step 2. Check the most common inverter symptoms
With the system safely powered down and your details in hand, match what you’re seeing against the most common inverter symptoms. Reading the inverter’s error state correctly before you call prevents misdiagnosis and helps any solar inverter repair service technician arrive with the right parts and test equipment.
No output but the screen is on
This is one of the most common situations homeowners report. Your inverter powers up, the display is active, but your monitoring app shows zero production for the day. The most likely causes are a grid voltage issue, a failed AC disconnect, or the inverter detecting a fault and deliberately refusing to feed power into your home. Check your utility’s outage map online to rule out a grid-side problem before assuming the unit itself has failed.
Error codes and what they typically mean
Most inverters display a numeric or alphanumeric fault code when something goes wrong. These codes vary by manufacturer, but the table below covers the most common categories you’ll see across major brands like Enphase, SolarEdge, and Fronius:
| Code Category | What It Usually Means | DIY Safe? |
|---|---|---|
| GFDI / Ground Fault | Wiring insulation issue or moisture intrusion | No |
| Arc Fault (AFCI) | Damaged wiring creating an arc between conductors | No |
| Grid Frequency Out of Range | Utility grid fluctuation | Usually self-resolves |
| Temperature / Overheating | Fan failure or poor ventilation around the unit | Check clearance first |
| Communication Loss | Monitoring device offline or firmware glitch | Yes |
Photograph every code your inverter displays before you power the unit back on, because some fault codes clear automatically and will not reappear when a technician runs a diagnostic visit.
Partial production or intermittent output drops
If your system generates power but the output is consistently lower than your historical average for the same month in previous years, you may have a panel-level fault rather than a full inverter failure. Microinverter systems make this easier to spot because your monitoring app can isolate exactly which panel or unit is underperforming. A string inverter shows total production loss whenever any single string has a problem, which makes pinpointing the source much harder without professional diagnostic tools on site.
Step 3. Try safe fixes before you book a service call
Before you schedule a solar inverter repair service visit, several safe steps can resolve the most common non-hardware issues without any technical knowledge. Software glitches, communication dropouts, and temporary overheating shutdowns account for a surprising number of calls that homeowners could have cleared themselves in under fifteen minutes.
Restart the inverter following the correct sequence
A controlled restart is not the same as flipping the unit off and immediately back on. Power cycling in the correct order prevents additional faults and gives the inverter’s internal software time to reset properly. Follow these steps exactly:
- Turn off the AC disconnect switch at your main electrical panel.
- Turn off the DC disconnect switch on or near the inverter.
- If your system includes a battery, put it into standby mode through its app or physical switch.
- Wait five full minutes before you restore power to anything.
- Turn everything back on in reverse order: battery first, then DC disconnect, then AC disconnect.
- Check the inverter display and your monitoring app within ten minutes to confirm production has resumed.
If your inverter returns the same error code after a full restart, stop there and call a technician rather than repeating the cycle.
Check ventilation clearance and communication devices
Heat-related shutdowns are common in Florida because ambient temperatures stay high for most of the year. Walk up to your inverter and confirm that nothing is blocking the vents or resting against the unit. Manufacturers typically require at least six inches of clearance on all sides with no direct sun exposure for wall-mounted string inverters. If the area is clear and the unit still shows an overtemperature warning, the internal cooling fan may have failed, and that requires a professional.
Communication faults fall into a separate category that you can often resolve without touching the inverter at all. Check that your monitoring gateway or Enphase Envoy hub has power and a stable internet connection. Restarting your router and the monitoring gateway together clears a large percentage of "system offline" alerts with no hardware repair required. If your monitoring app reconnects and shows normal production numbers, the inverter itself was never the problem.
Step 4. Understand costs, warranties, and choosing pros
Once you’ve exhausted the safe DIY fixes and still have a problem, you need a clear picture of what a professional repair will cost before you commit to anything. Repair costs vary significantly based on your inverter type, the system’s age, and whether the fault involves software, a single component, or a full hardware failure that requires a replacement unit.
What repairs typically cost
Labor for a standard diagnostic visit typically runs $100 to $200, and most reputable solar inverter repair service companies apply that fee toward the total repair cost if you proceed with the work. Parts stack on top of that baseline depending on the specific fault.
| Repair Type | Typical Cost Range |
|---|---|
| Diagnostic visit only | $100 – $200 |
| Capacitor replacement | $150 – $400 |
| Cooling fan replacement | $100 – $300 |
| Communication gateway replacement | $75 – $200 |
| Full string inverter replacement | $1,000 – $2,500 |
| Microinverter replacement (per unit) | $200 – $400 |
Full unit replacement becomes the smarter financial decision when repair quotes exceed 50 percent of the cost of a new inverter, particularly on systems older than eight years where other components are approaching end of life anyway.
Check your warranty before you pay anything
String inverters typically carry a 10-year manufacturer warranty, while microinverters from brands like Enphase often include 25-year coverage. Before you authorize any paid repair, pull your original installation contract and check the warranty documentation carefully. If your system falls within the coverage window, contact the manufacturer directly to open a warranty claim before scheduling a paid service visit, because a valid claim can eliminate parts costs entirely and sometimes covers labor as well.
Confirming your warranty status takes ten minutes and can save you several hundred dollars, so do it before you agree to any repair quote.
What to look for in a solar inverter repair service
Not every electrical contractor understands solar systems well enough to diagnose inverter faults correctly. Look for a company that holds a dedicated solar contractor license in addition to a general electrical license, and confirm that the technician has hands-on experience with your specific inverter brand. Ask directly whether the company is a certified installer for brands like Enphase or Tesla Energy, because certified technicians have access to proprietary firmware tools and manufacturer support lines that general contractors simply do not.
Get your system producing again
Most inverter problems follow a clear path: identify the symptom, check your warranty, try the safe fixes, and call a licensed technician when the issue goes beyond what you can safely resolve yourself. Working through each step in order keeps you from paying for a service visit you didn’t need or, worse, skipping a warranty claim that would have covered the entire repair.
If your system is still under warranty, contact the manufacturer before you spend a dollar on repairs. If the fault requires professional hands, choose a solar inverter repair service that holds the right licenses and certifications for your specific equipment rather than the first contractor who picks up the phone.
Advance Solar & Spa has handled inverter repairs across Florida for over 40 years, with an in-house team of licensed technicians ready to diagnose your system correctly the first time. Contact us at Advance Solar & Spa to schedule a service visit and get your system back to full production.