Your SolarEdge inverter stopped producing power, and now you’re staring at a blinking red LED or a cryptic error code on the display. Before you panic or call for an emergency service visit, most of these issues have straightforward explanations, and many can be resolved without a technician. SolarEdge inverter troubleshooting starts with understanding what your system is actually telling you through its status lights and error codes.
At Advance Solar & Spa, we’ve been installing and servicing solar energy systems across Florida since 1983. With over 50,000 installations behind us, our in-house team has seen just about every inverter fault, communication error, and production drop a SolarEdge system can throw. That hands-on experience is exactly what informed this guide, real fixes based on real problems we encounter in the field every week.
Below, you’ll find a complete breakdown of the most common SolarEdge error codes, what each LED pattern means, and step-by-step procedures to diagnose and restore production. We’ll also cover when a problem is genuinely DIY-friendly and when it’s time to bring in a licensed professional.
Safety first and what you’ll need
Before you touch anything on your inverter, you need to understand one hard rule: SolarEdge inverters carry high DC voltage from your solar panels even when the AC grid is off. That voltage does not disappear simply because you flipped a breaker. Even during a grid outage or at night, the DC side of the system can hold dangerous levels of charge that require no contact to cause serious injury. Approaching an inverter without the right precautions puts you at real risk, so read this section fully before you move into any troubleshooting steps below.
Know your limits before you start
SolarEdge inverter troubleshooting divides cleanly into two categories: things you can safely do yourself, and things that require a licensed electrician or certified solar technician. Most diagnostic steps, like reading LED lights, checking the monitoring app, and performing a simple restart, fall into the first category. However, anything that involves opening the inverter enclosure, inspecting internal wiring, or measuring live voltage belongs firmly in the second. If you’re not certain which category your issue falls into, treat it as the second.
Never open the inverter enclosure unless you hold the appropriate electrical license. The DC disconnect does not eliminate all voltage inside the unit.
Understanding this boundary protects both you and your warranty. SolarEdge inverters come with a 12-year standard manufacturer warranty that can be extended to 25 years, and unauthorized internal work voids that coverage immediately. When in doubt, stop at the visual diagnostics and call a licensed professional.
What to gather before you troubleshoot
Having the right items ready before you start saves time and prevents repeated trips back to the inverter. Most diagnostic steps require nothing more than your phone and a few basic tools, but pulling everything together first keeps the process efficient and safe.
Here’s what you’ll want on hand:
| Item | Why you need it |
|---|---|
| mySolarEdge app or monitoring portal | Pulls real-time error codes, production data, and system alerts |
| Inverter serial number | Required when contacting SolarEdge support |
| Non-contact voltage tester | Confirms whether AC power is present without touching wires |
| Insulated screwdriver set | For operating AC/DC disconnect switches only, not the enclosure |
| Safety glasses and insulated gloves | Basic protection near any electrical equipment |
| Pen and paper or phone notes | Document error codes and LED patterns for the technician if needed |
Your inverter’s serial number is printed on the label affixed to the side of the unit. Take a photo of it now before you need it. If you have to call SolarEdge support or a local installer, they’ll ask for that number immediately, and having it ready cuts waiting time significantly.
Step 1. Check LED lights and monitoring
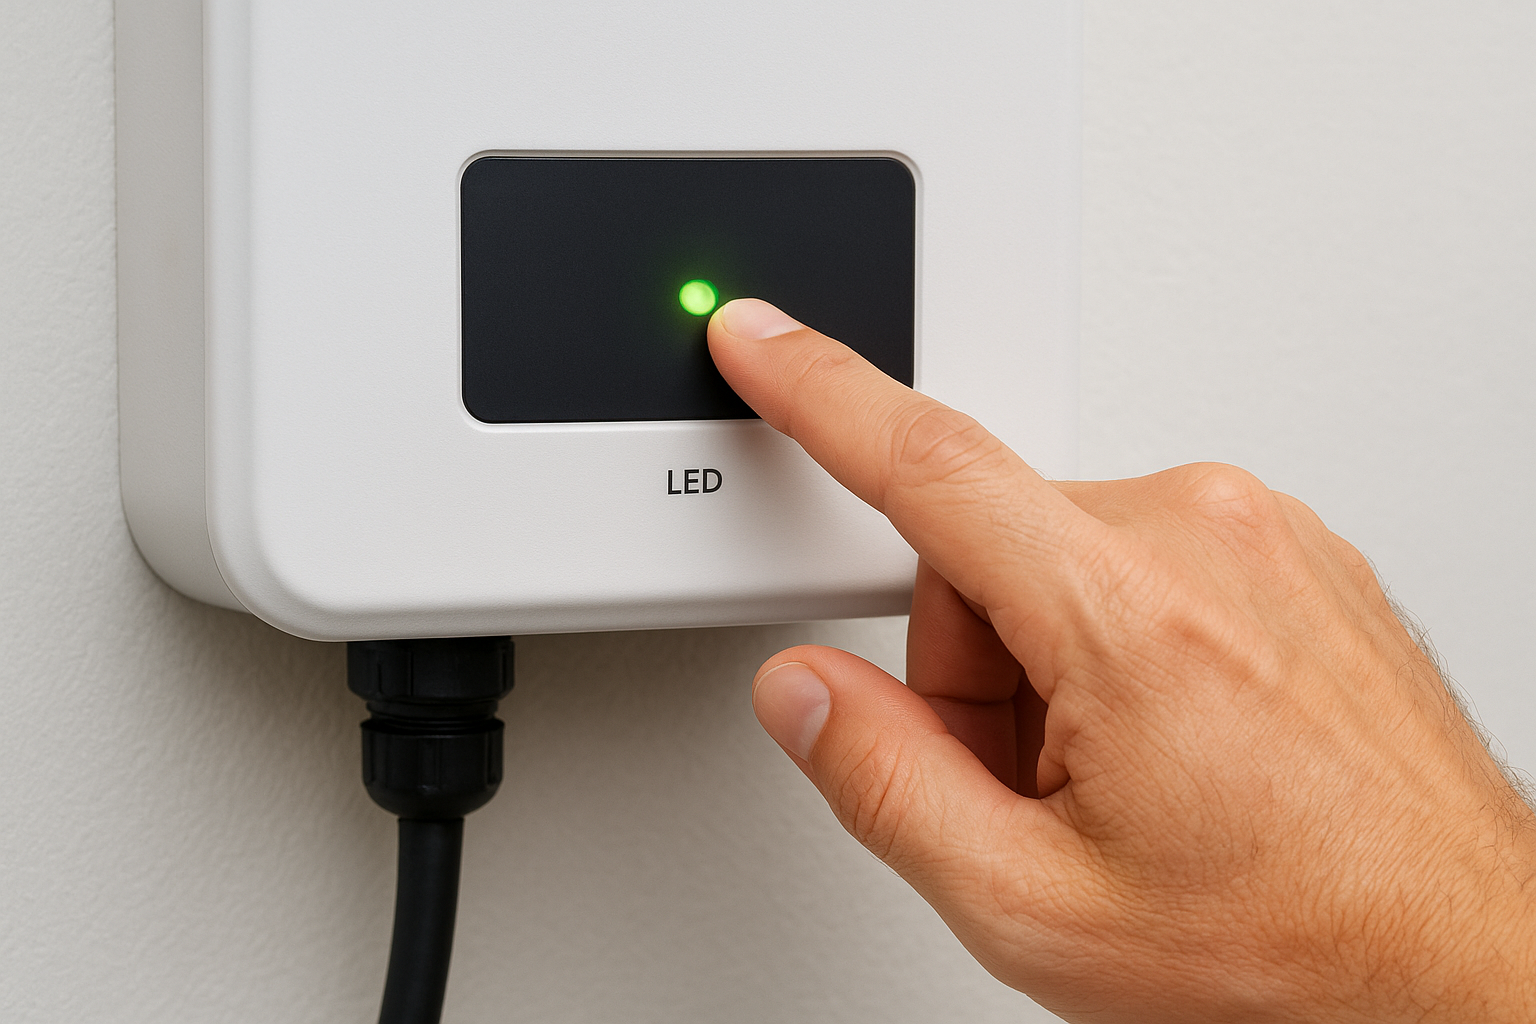
Your first move in any SolarEdge inverter troubleshooting process is to look at the physical inverter before you touch anything else. The LED light on the front panel gives you an immediate snapshot of the system’s operating state, and reading it correctly narrows down your problem in seconds.
Reading the LED indicator
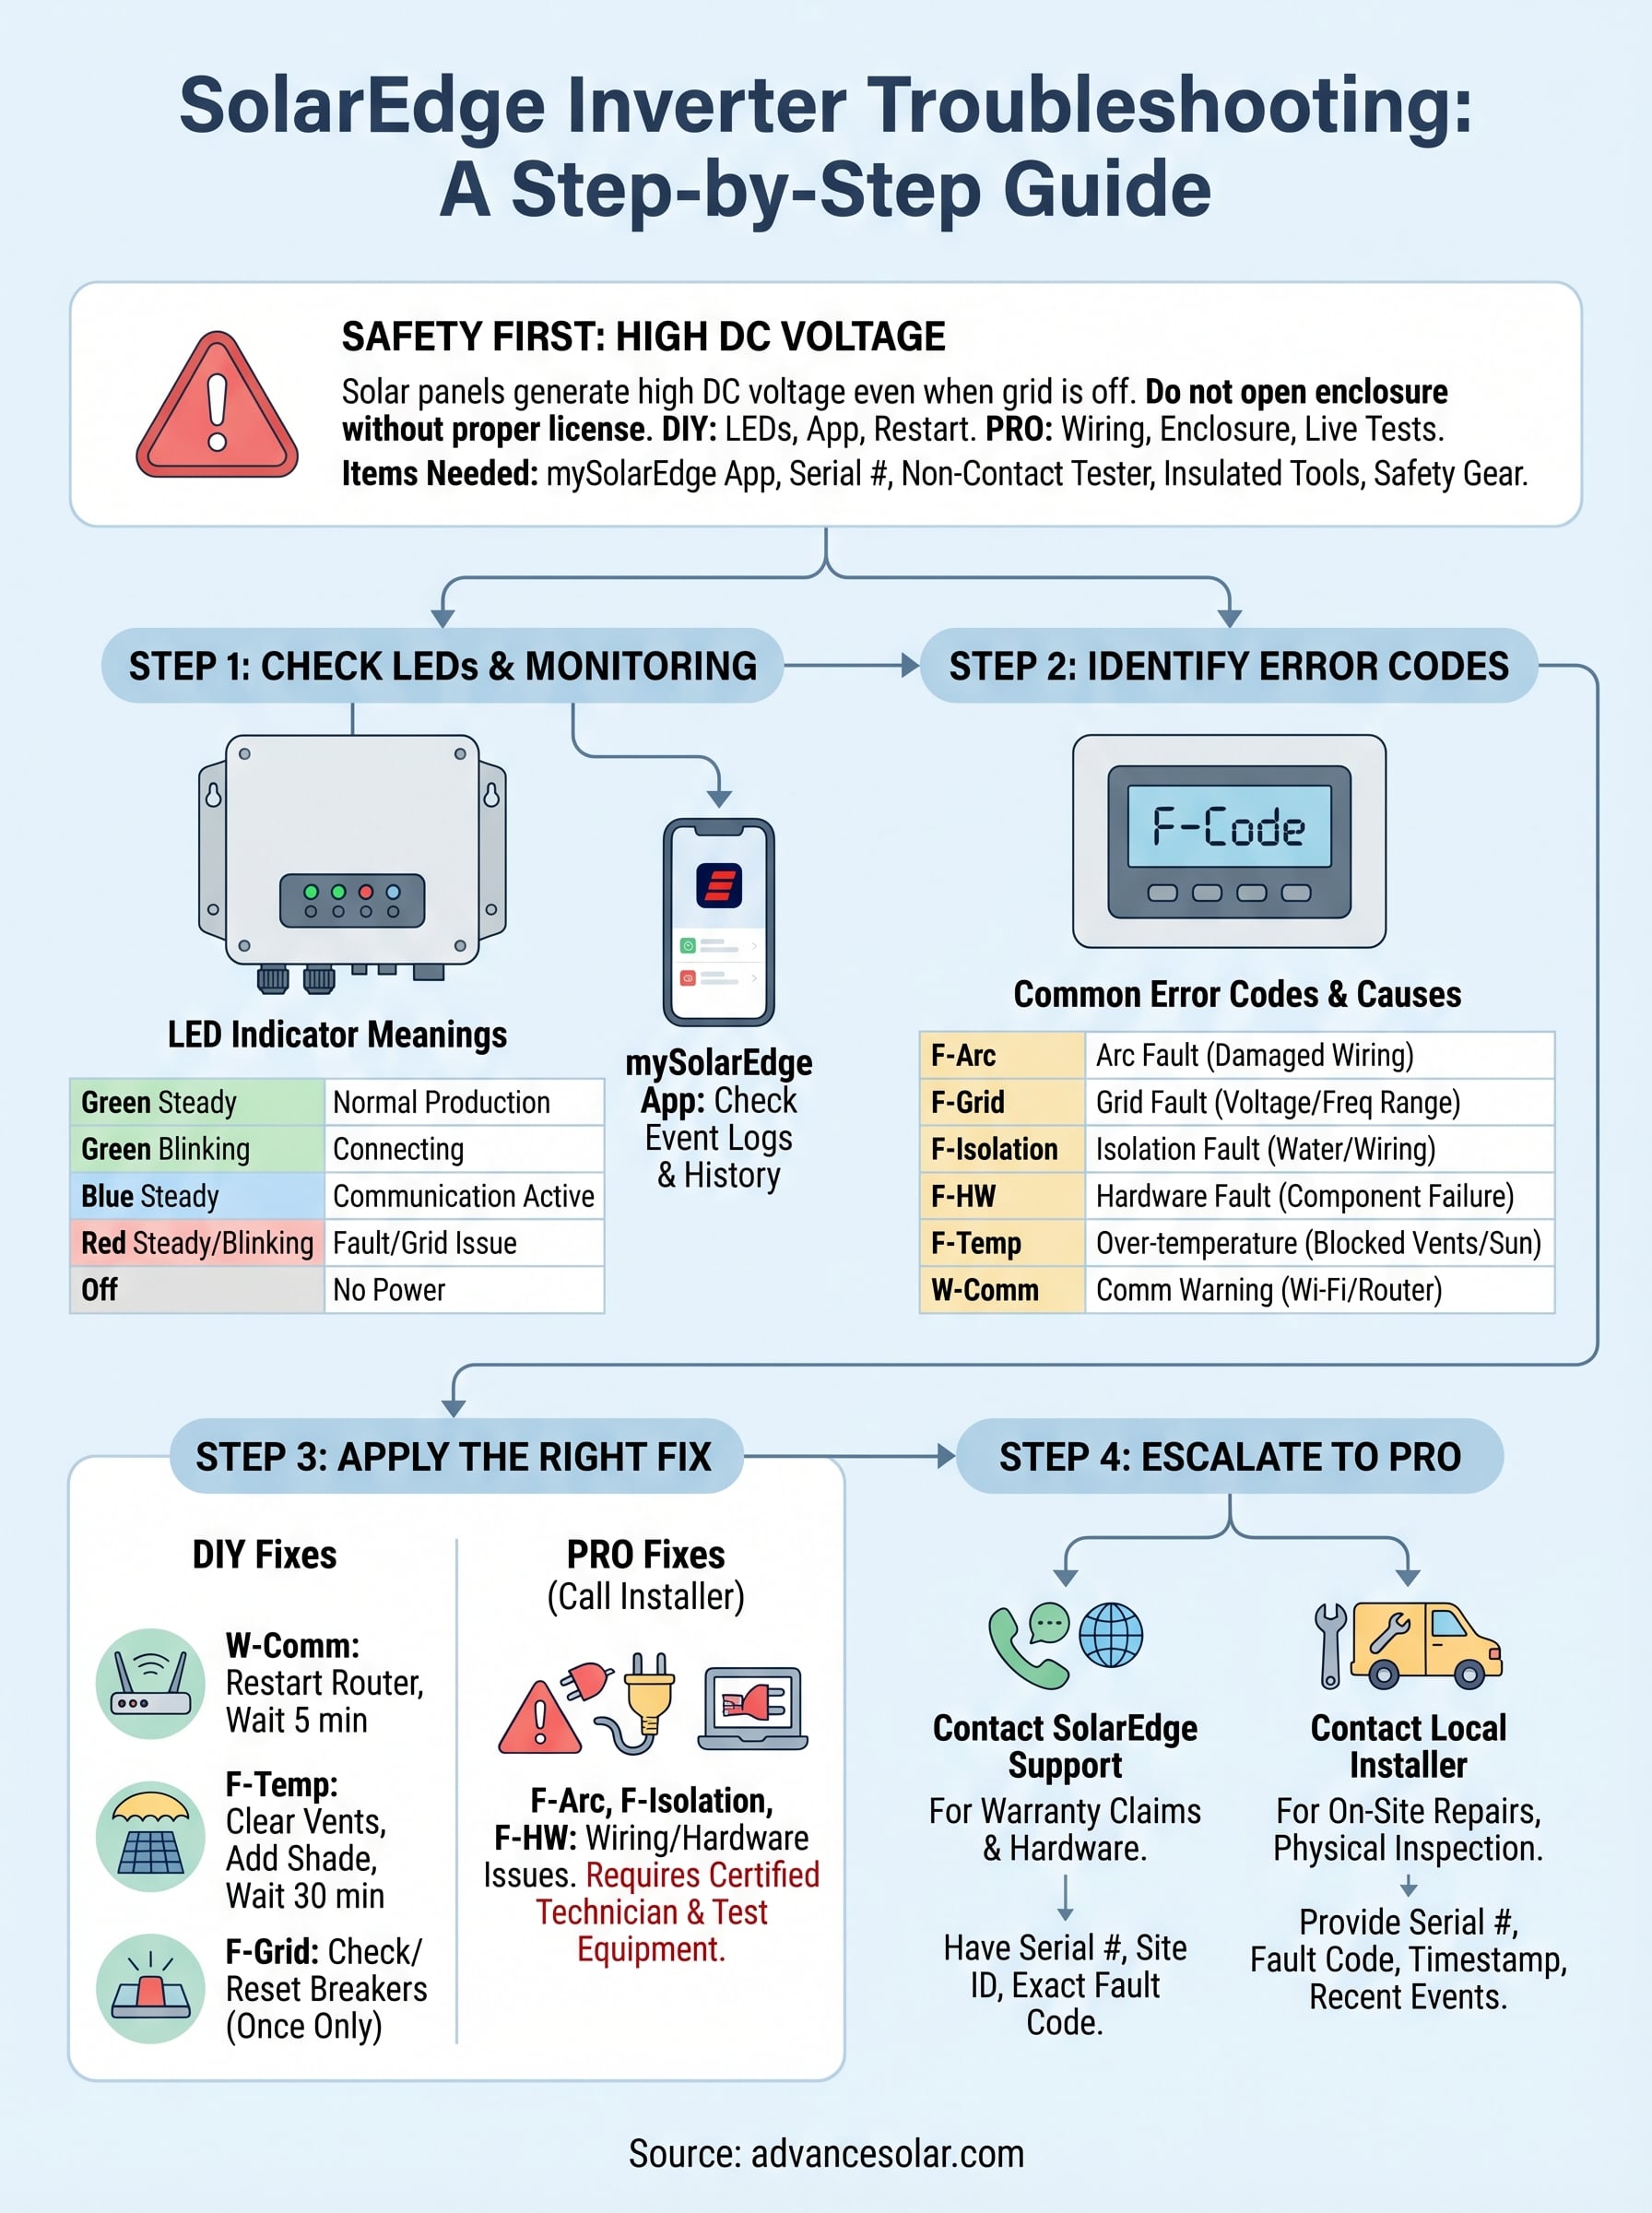
The SolarEdge inverter uses a single LED that communicates through color and blink pattern. Each combination points to a specific condition, from normal production to a grid fault. Reading the LED correctly is the fastest way to determine your next diagnostic step, so check the table below before moving further.
| LED Color | Blink Pattern | What it means |
|---|---|---|
| Green | Steady | System producing normally |
| Green | Blinking | Connecting to grid |
| Blue | Steady | Communication active |
| Red | Steady | Fault detected, check display |
| Red | Blinking | AC grid issue or protection mode |
| No light | Off | No power reaching inverter |
A steady red LED almost always means an error code is stored on the inverter display or in your monitoring portal, so pull that code before calling anyone.
Checking the monitoring portal
Once you’ve noted the LED pattern, open the mySolarEdge app or log into the monitoring portal at monitoring.solaredge.com and check your system dashboard. The portal logs every fault event with a timestamp, which tells you whether the issue appeared suddenly or has been building gradually over time.
Navigate to the Events tab inside your monitoring account, where SolarEdge stores a full history of alerts, disconnections, and warnings. If you spot a pattern of repeated alerts at the same time each day, that points toward a grid voltage fluctuation or a shading-related fault rather than a hardware failure. Both the LED reading and the portal data together give you the clearest picture before moving into Step 2.
Step 2. Identify the error code and likely cause
Once you’ve noted your LED pattern and checked the monitoring portal, your next task in SolarEdge inverter troubleshooting is to locate the specific error code your system has logged. SolarEdge inverters display fault codes directly on the LCD screen and simultaneously record them in your monitoring account under the Events tab. Write the exact code down, including any alphanumeric prefix, because the prefix tells you which subsystem the fault originated from.
Reading the fault code on your display
Your inverter’s LCD screen cycles through multiple status screens automatically, so you may need to wait a few seconds for the fault screen to appear in the rotation. If the display shows nothing, check that the DC disconnect switch on the inverter is in the ON position and that the AC breaker for the inverter in your main panel has not tripped. A completely dark screen almost always traces back to a power supply issue rather than an internal inverter fault.
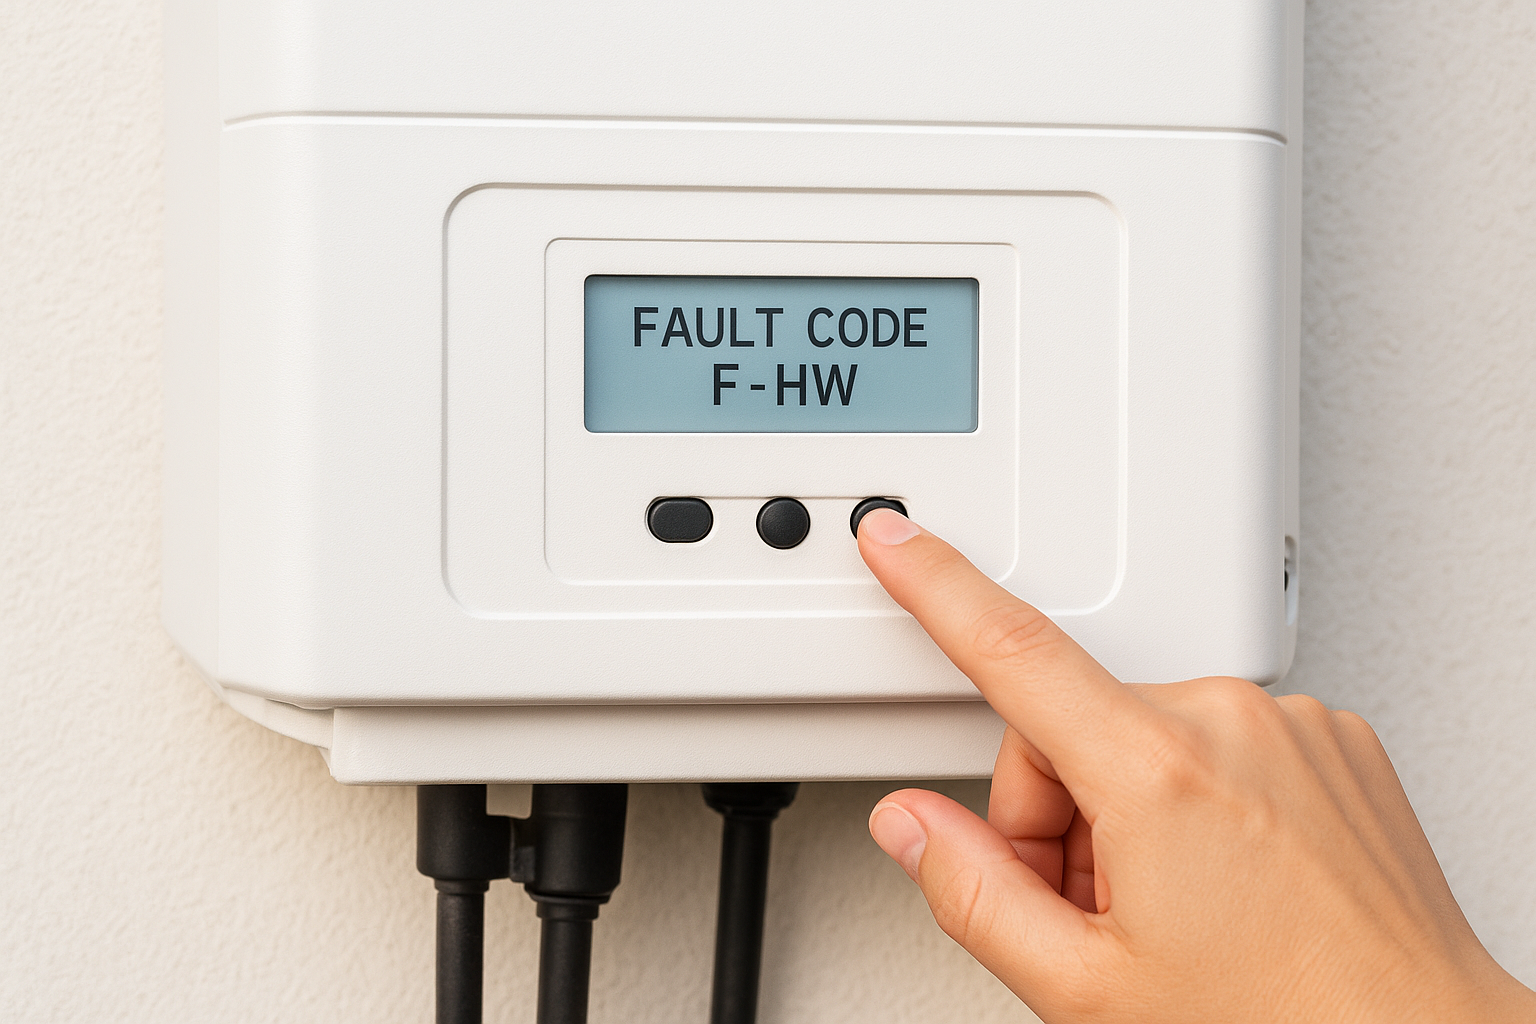
If the LCD shows a code beginning with "F," that indicates a fault that stopped production. Codes beginning with "W" are warnings that allow the system to keep running at reduced capacity.
Common error codes and their likely causes
The table below covers the fault codes our team encounters most often on Florida installations. Use it to match your displayed code to the most probable root cause before moving into Step 3.
| Error Code | Description | Likely Cause |
|---|---|---|
| F-Arc | Arc fault detected | Damaged DC wiring or loose connector |
| F-Grid | Grid fault | Utility voltage or frequency out of range |
| F-Isolation | Isolation fault | Water intrusion or degraded panel wiring |
| F-HW | Hardware fault | Internal component failure |
| F-Temp | Over-temperature | Blocked ventilation or direct sun on enclosure |
| W-Comm | Communication warning | Wi-Fi dropout or router change |
Matching your exact code to the table above narrows the likely cause significantly and determines which fix in Step 3 applies to your situation.
Step 3. Apply the right fix for your fault
With your error code identified, this step of SolarEdge inverter troubleshooting is where you take action. The fix you apply depends entirely on the fault code you recorded in Step 2, so match your code to the corresponding procedure in the table below before doing anything else.
Fixes you can do yourself
Several common faults resolve with simple, low-risk steps that don’t require opening the inverter or working with live wiring. Work through these procedures in order, and check your monitoring portal after each one to confirm whether production has resumed.
| Fault Code | Step-by-step fix |
|---|---|
| W-Comm | 1. Restart your router. 2. Wait 5 minutes. 3. Confirm the inverter reconnects in the mySolarEdge app. |
| F-Temp | 1. Clear any objects blocking the inverter’s ventilation slots. 2. If the unit sits in direct sunlight, add a shade cover rated for outdoor use. 3. Wait 30 minutes, then monitor temperature in the app. |
| F-Grid | 1. Check your main breaker panel for any tripped breakers. 2. Reset any tripped breaker. 3. If the fault clears in the monitoring portal, production resumes automatically within 5 minutes. |
If you reset a tripped breaker and the same fault returns within the same day, stop resetting it and call a licensed electrician.
After applying a fix, give the inverter 5 to 10 minutes to reconnect to the grid and resume production. The LED should shift from red or blinking green to a steady green once the system returns to normal operation.
Faults that require a professional
Some error codes point to conditions you should not attempt to resolve on your own. F-Arc, F-Isolation, and F-HW all indicate wiring or hardware problems that carry real safety risk and require a licensed solar technician with proper test equipment. Attempting these repairs yourself risks electric shock, fire, and immediate warranty termination. Before you make that call, gather the following information so the technician can diagnose efficiently:
- The exact error code from the display and monitoring portal
- The date and time the fault first appeared
- Your inverter’s serial number
- Any recent changes near the system such as roof work, new appliances, or severe weather
Step 4. Escalate to SolarEdge or a local pro
When your own SolarEdge inverter troubleshooting steps haven’t cleared the fault after a full restart cycle, or when you’re dealing with a code like F-Arc, F-Isolation, or F-HW, it’s time to hand the problem off to someone with the right license and test equipment. Knowing exactly who to call and what information to bring to that conversation gets your system back online faster and prevents repeat visits.
When to contact SolarEdge support directly
SolarEdge provides direct technical support for inverter faults, particularly for warranty claims and hardware failures that require a replacement unit. If your system is within its warranty period and the fault code points to an internal component, contacting SolarEdge first establishes a case number that your local installer will need to process any warranty replacement.
Reach SolarEdge technical support through their official support portal at solaredge.com/service/support, where you can open a case online or find the phone number for your region.
Gather your inverter serial number, site ID from the monitoring portal, and the exact fault code before you start that call. SolarEdge support will walk through remote diagnostics using your monitoring data, which often determines whether the inverter needs a firmware update, a settings adjustment, or a physical replacement.
What to tell your local installer
Your local certified installer handles the physical inspection, wiring tests, and on-site repairs that SolarEdge support cannot perform remotely. When you call, give the technician a complete picture upfront so they arrive with the right parts and tools.
Use this quick information template when you call:
- Inverter model and serial number
- Exact fault code displayed on the LCD and logged in the portal
- Date and time the fault first appeared
- Any recent events near the system such as storms, roof work, or utility outages
- Steps you already tried, including resets or breaker checks
Providing this upfront cuts diagnostic time significantly and often means your technician resolves the issue in a single visit.
Next steps
Working through SolarEdge inverter troubleshooting in the right order, from LED check to error code identification, targeted fix, and professional escalation when needed, covers the vast majority of faults you’ll encounter. Most issues resolve with a restart or a breaker reset, and the ones that don’t give you clear signals that it’s time to call a professional before the problem gets any worse.
If your system is back online, keep the monitoring portal open over the next few days to confirm production stays consistent. Document any recurring fault codes and note their timestamps so your technician has a clear history to work from if the same fault returns.
For Florida homeowners who need a licensed team to handle hands-on diagnostics, our certified technicians at Advance Solar & Spa have the tools and field experience to get your system producing again. Contact Advance Solar & Spa to schedule a service visit today.