Going solar at a commercial scale is a bigger commitment than a residential rooftop project. The commercial solar installation process involves more stakeholders, stricter engineering requirements, and longer timelines, but the payoff in energy savings and operational independence makes it worth every step. If you’re a business owner in Florida weighing this decision, understanding what happens from first consultation to final activation removes the guesswork and helps you plan with confidence.
At Advance Solar & Spa, we’ve completed over 50,000 installations since 1983, including commercial systems across Florida’s East and West coasts. Our in-house team of more than 50 licensed professionals, holding Solar, Electrical, Pool, and HVAC state licenses, handles every phase of a project without relying on subcontractors. As both a Tesla Certified Installer and Enphase Platinum Installer, we bring the engineering depth and field experience that commercial projects demand.
This guide breaks down each stage of a commercial solar installation so you know exactly what to expect. From the initial site evaluation and system design through permitting, construction, inspection, and grid interconnection, we’ll walk through the full timeline and key decisions involved. Whether you’re looking to offset rising electricity costs or future-proof your building’s energy supply, this step-by-step breakdown gives you a clear roadmap before you sign a single contract.
What to know before you start a commercial solar project
Before you dive into the commercial solar installation process, setting realistic expectations saves you from surprises that slow a project down or change your budget mid-stream. Commercial projects differ from residential ones in three core ways: system size and complexity, the number of approvals required, and the financial structures available. Getting clear on each of these before your first meeting with a solar installer puts you in a much stronger position to make fast, informed decisions.
Timeline expectations for commercial projects
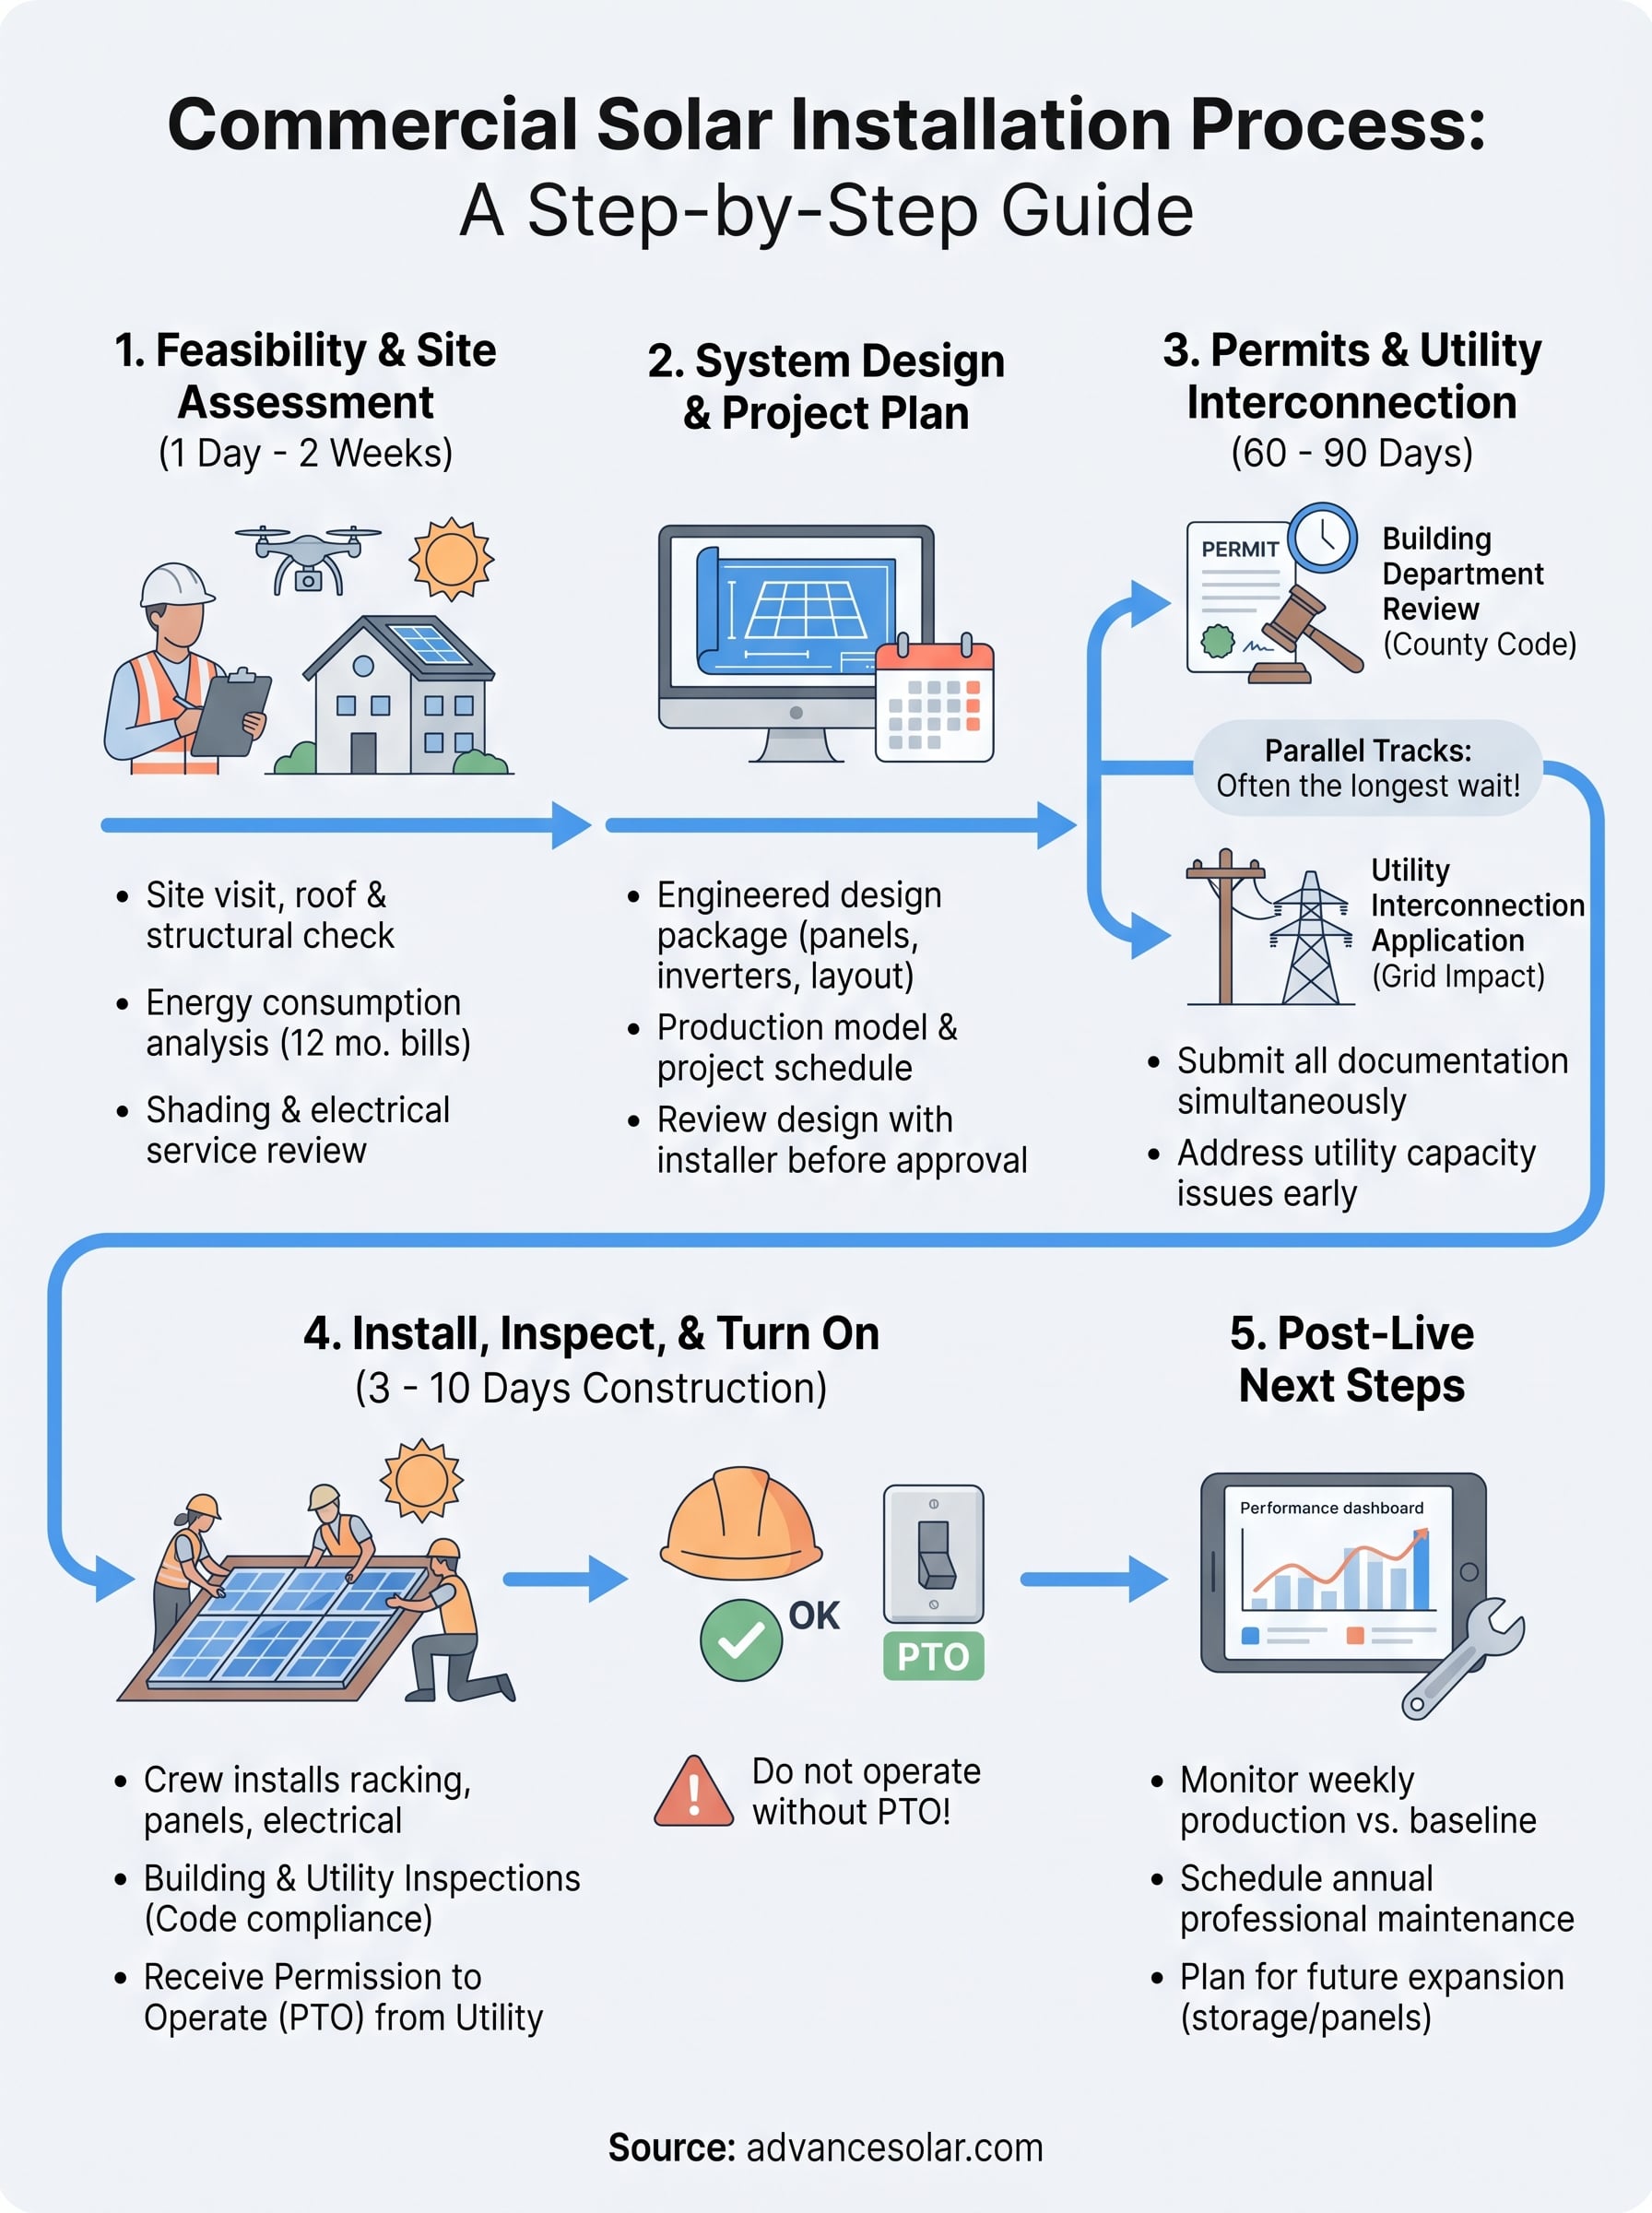
Commercial solar installations typically take three to nine months from first consultation to the day your system starts producing power. The wide range comes down to project size, permitting jurisdiction, and utility interconnection timelines. A small 50 kW rooftop system on a single building moves faster than a 500 kW ground-mount installation with multiple structures and a dedicated transformer upgrade. You should build at least 60 to 90 days into your planning for permits and utility approval alone, regardless of how quickly the physical installation goes.
Utility interconnection is often the longest single wait in a commercial solar project. Start that process as early as your installer can submit the paperwork.
Florida’s permitting process varies by county, so your installer needs to be familiar with local building departments. Projects in Lee County, Collier County, Broward County, and Sarasota County each follow different submission and review timelines, and some jurisdictions run several weeks slower than others depending on current permit volume.
Financial incentives and ownership options
The federal Investment Tax Credit (ITC) currently sits at 30% of total system cost for commercial installations, making it one of the most significant financial tools available to you. You can pair this with bonus depreciation under MACRS (Modified Accelerated Cost Recovery System), which lets you depreciate a large portion of the system’s value in year one. Businesses that own their systems outright capture the full benefit of both incentives. You can review the current IRS guidance on MACRS depreciation at IRS.gov.
If upfront capital is a concern, you have two main alternatives: a Power Purchase Agreement (PPA) or a solar lease. Under a PPA, a third-party developer owns the system and sells you the power it produces at a fixed rate below your current utility rate. A lease charges a fixed monthly payment instead of a per-kilowatt-hour rate. Both options reduce your upfront cost to near zero, but they transfer the tax benefits to the system owner, so your accountant and solar consultant should review both scenarios before you commit to an ownership structure.
Step 1. Run a feasibility check and site assessment
The first step in the commercial solar installation process starts before any equipment is ordered or contracts are signed. Your installer needs to evaluate whether your site can physically and economically support a solar system. This assessment takes anywhere from one day to two weeks depending on how much roof area, electrical infrastructure, and shade analysis is involved.
What the site assessment covers
A qualified engineer or certified solar consultant will visit your property and gather data across several key areas. They examine roof condition and structural load capacity, confirm your roof can bear the added weight of panels and racking hardware, and check its remaining useful life. Replacing a roof after panels are installed costs significantly more than addressing it beforehand. They also study shading patterns using tools that map the sun’s path across your site throughout all four seasons.
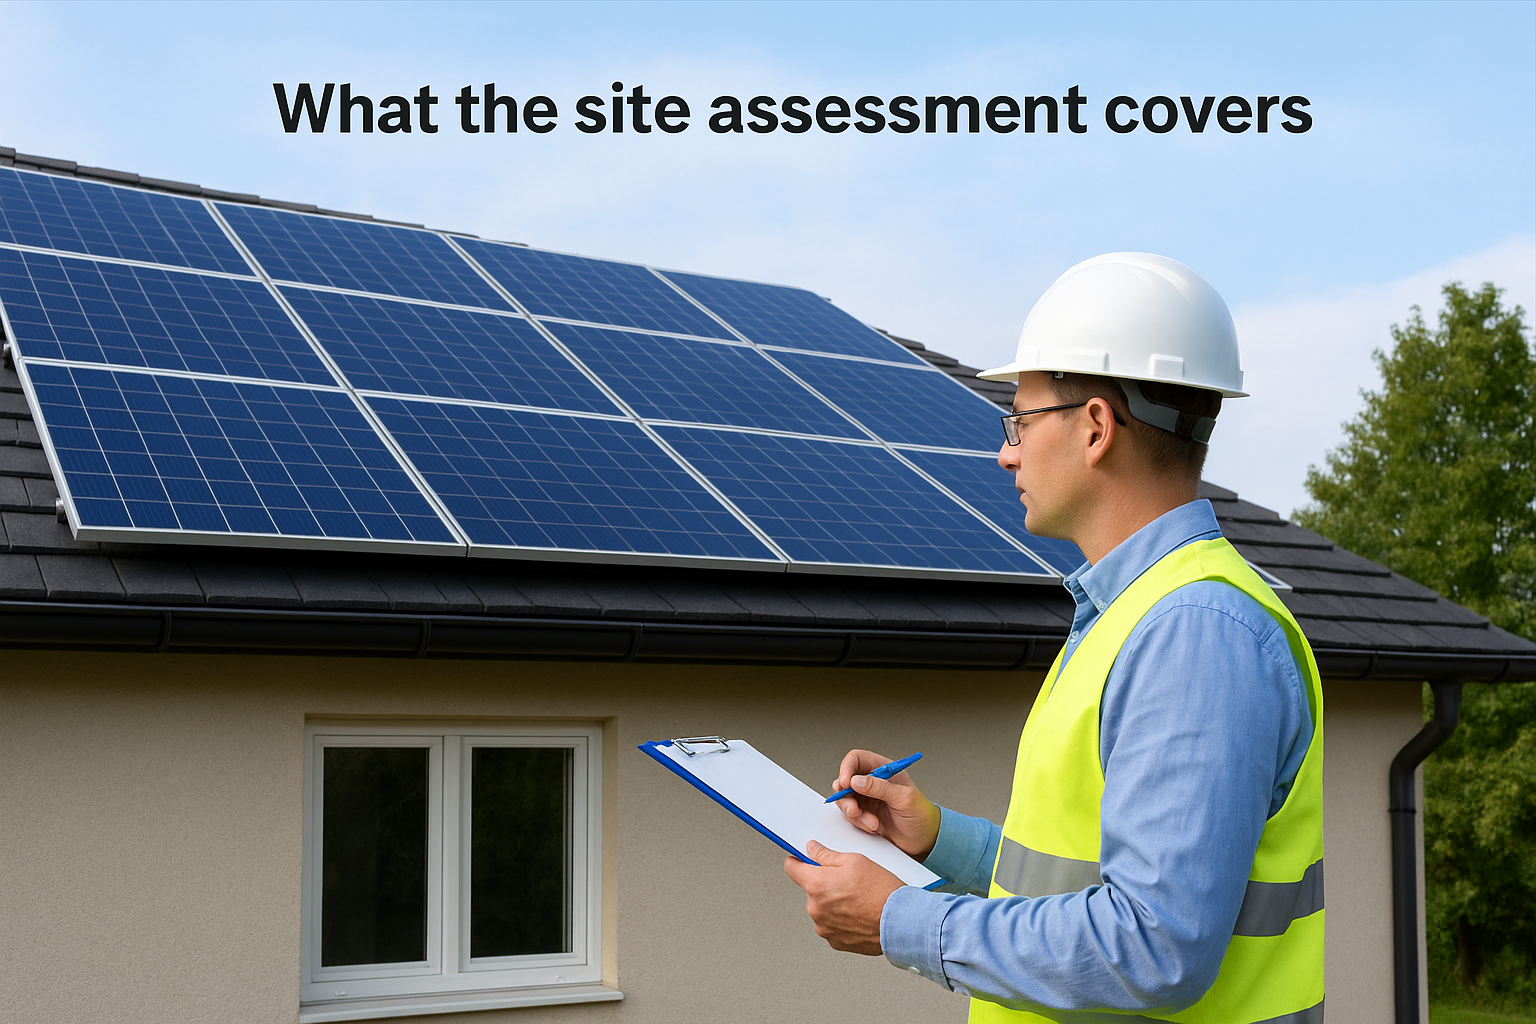
Beyond the roof, the assessment includes a full review of your electrical service and utility meter configuration. The engineer checks whether your current switchgear can handle a solar interconnection or if a panel upgrade is required first. They also pull 12 months of your utility bills to size the system correctly against your actual energy consumption, not an estimate.
Get 12 months of electricity bills ready before the site visit. Your installer can use that data to build a more accurate production model on the spot.
Questions to ask during the site assessment
Use the site visit to gather specific details that directly affect your project timeline and budget. Asking the right questions early prevents costly changes later in the process. Work through the following with your consultant:
- What is the roof condition, and will it need replacement before installation?
- How much shading affects the primary panel zones, and does the design account for seasonal variation?
- Will a utility service upgrade be required for interconnection approval?
- What is the estimated permitting review timeline for your specific county?
Step 2. Build the system design and project plan
Once the site assessment is complete, your installer uses that data to produce a detailed system design and a full project plan. This is where the commercial solar installation process moves from evaluation to engineering. Your consultant builds a production model that matches your energy consumption, selects the right panel and inverter configuration, and maps out a construction schedule that fits your operational needs.
What goes into the system design
Your engineer creates a design package that covers every component of the system and how it connects to your existing electrical infrastructure. The design specifies panel quantity, layout, and orientation based on your roof geometry and shading analysis, and it details the inverter type (string, microinverter, or power optimizer) that performs best for your site conditions. If battery storage is part of your project, the design includes load calculations that determine how much backup capacity you need to keep critical systems running during an outage.
Review the system design document line by line with your installer before approving it. Changes made after permitting begins cost significantly more time and money.
The design package also includes a one-line electrical diagram, a structural load calculation, and a shading report. These documents go directly to the permitting agency and utility, so accuracy matters.
What the project plan includes
Your installer produces a written project schedule that lists each phase with start and completion dates: design finalization, permit submission, utility interconnection application, procurement, installation, and inspection. This document gives you a clear view of who is responsible for each task and where approvals create dependencies.
Ask your installer to include procurement lead times for major equipment in the schedule. Supply delays on inverters or racking can push your timeline by several weeks if they aren’t tracked early.
Step 3. Secure permits and utility interconnection
Permitting and utility interconnection run as two parallel tracks in the commercial solar installation process, and both require your installer to submit detailed documentation that meets specific agency standards. Your installer files for the building permit with your local county building department and submits the interconnection application to your utility simultaneously to avoid sequential delays. Planning for 60 to 90 days on this step alone is realistic for most Florida commercial projects, regardless of system size.
What the permit application includes
Your local building department reviews the full engineering package that your installer produced in Step 2. Reviewers check the structural load calculations, the one-line electrical diagram, and the shading report to confirm the design meets Florida Building Code requirements. Some Florida counties require a plan review meeting before issuing a permit, which adds time, so confirm that requirement with your installer before the application is submitted.
Submit your permit application and interconnection request on the same day your design is finalized to run both approval processes in parallel rather than one after the other.
How utility interconnection works
Your utility company reviews the interconnection application to determine whether your system can safely connect to the grid without disrupting the local distribution network. The review examines transformer capacity, line voltage levels, and protection relay requirements for your specific service point. Florida utilities such as FPL and LCEC each maintain their own interconnection process timelines, so your installer should already be familiar with the submission format each one requires.
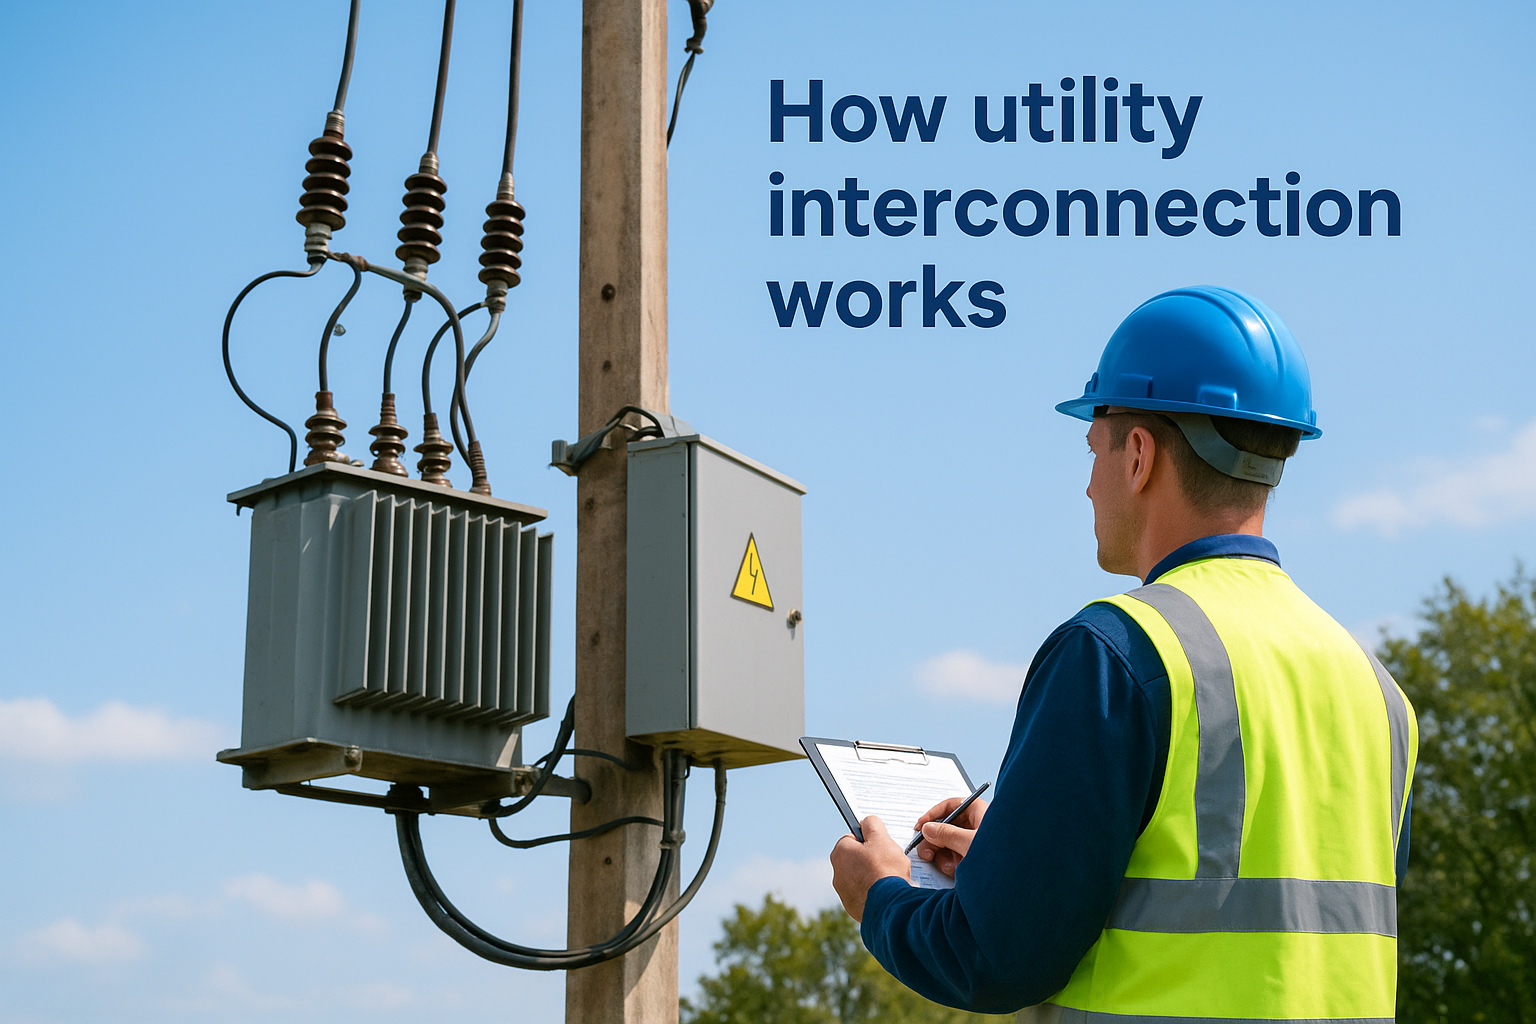
If the utility identifies a capacity issue on your feeder line, they may require you to fund a grid upgrade before they approve interconnection. Ask your installer to flag any known local capacity constraints before the application goes in so you can build that contingency into your budget and schedule from the start.
Step 4. Install, inspect, and turn the system on
Once permits are approved and equipment arrives on site, the physical work begins. This phase of the commercial solar installation process moves faster than the paperwork stages that precede it, but it still follows a strict sequence. Your installer coordinates crew scheduling, equipment staging, and inspection appointments to keep the project moving without unnecessary gaps between phases.
What happens during installation
Your crew starts by installing the racking and mounting hardware directly onto the roof or ground structure, following the approved structural drawings exactly. Panels go up next, followed by conduit runs, wiring, and inverter mounting. The electrical work connects your new system to the main service panel using the configuration your engineer specified in the one-line diagram. Most commercial installations take three to ten business days of active construction depending on system size and site conditions.
The inspection and commissioning sequence
After installation wraps, your local building department sends an inspector to verify that the work matches the approved permit drawings. The inspector checks wiring methods, equipment labeling, and grounding against Florida Building Code requirements. Once the building inspection passes, your installer contacts the utility to schedule the Permission to Operate (PTO) review, which is the final approval that allows your system to connect to the grid and export power.
Do not attempt to turn the system on before receiving written Permission to Operate from your utility. Operating without PTO can result in disconnection and fines.
Your installer walks you through the monitoring platform setup on commissioning day so you can track real-time production, system health, and historical output data from the start. Confirm that you have login credentials and understand how to read the dashboard before the crew leaves the site. Ask your installer to document the baseline production benchmarks for your system so you have a reference point for evaluating performance in the first 90 days.
Next steps after your system goes live
Your system producing power on day one marks the end of the commercial solar installation process, but it opens the beginning of your long-term energy strategy. Track your production data weekly for the first 90 days and compare it against the baseline benchmarks your installer documented during commissioning. Any sustained output drop signals a problem worth investigating before it compounds into a larger performance issue.
Schedule a professional maintenance review at the 12-month mark. Your installer should inspect panel cleanliness, inverter performance, and connection integrity on a regular basis. Florida’s coastal environment accelerates corrosion on hardware, so annual inspections protect a system you’ve invested significantly in.
If your energy demands grow, a well-designed system can be expanded with additional panels or battery storage capacity. Contact Advance Solar & Spa to schedule a consultation and get expert guidance on managing, maintaining, and expanding your commercial solar investment for years ahead.